- Home
- Installation
Installation
You picked, you clicked, you waited a few days and finally your new wheels and tire package from wheelplususa.com is here. If you purchased a complete wheels and tires package, your tires are already balanced and mounted on your wheels. It is just your job to get the old wheels off and your new wheels on. Get the most out of your custom wheels and tires package by following these simple steps for proper installation.
Position Your Custom Wheels
This may seem elementary, but you want to make sure you match your new custom wheel to the proper position on your vehicle. This is especially important if you are installing a custom wheels package with a staggered wheel and tire fitment or directional tires. Go ahead and make like a NASCAR pit member and set each wheel and tire around your vehicle in the proper position. Make sure that you place the wheels and tires so that the sidewall branding print is facing outwards. If you have directional tires make sure the arrows are pointing in the proper direction.
Start in the Back and Test the Fit
Make sure your vehicle is on a flat surface and in a safe location. Then get started on the left rear wheel.
Loosen the Lug Nuts
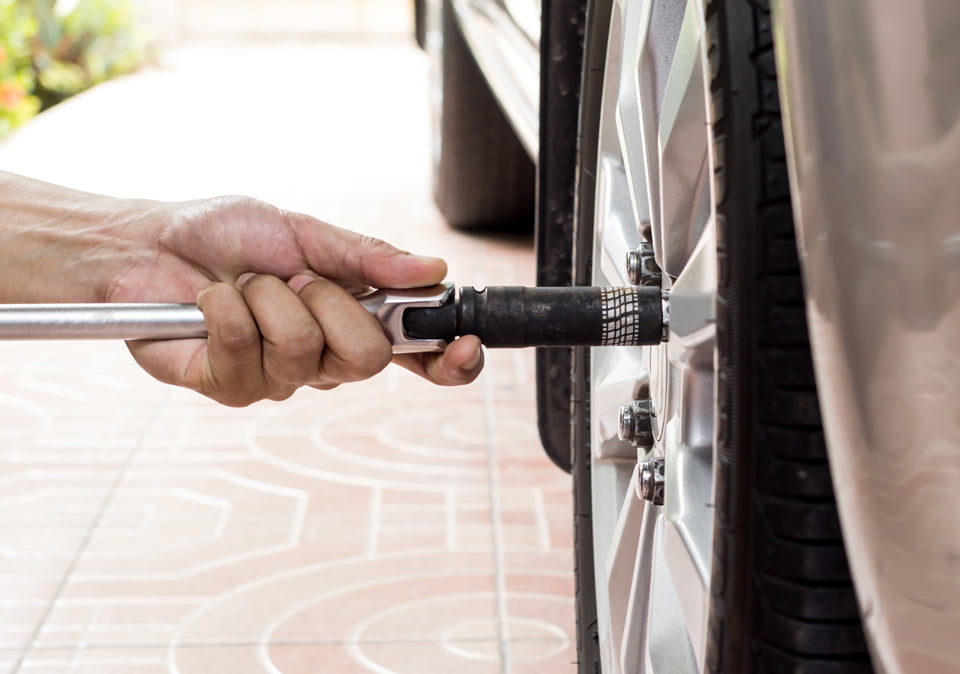
Loosen the lug nuts or bolts with a 4 way wrench or a socket on a breaker bar. We don’t recommend the use of power tools to minimize the risk of damage to the bolts or studs.

Jack It Up
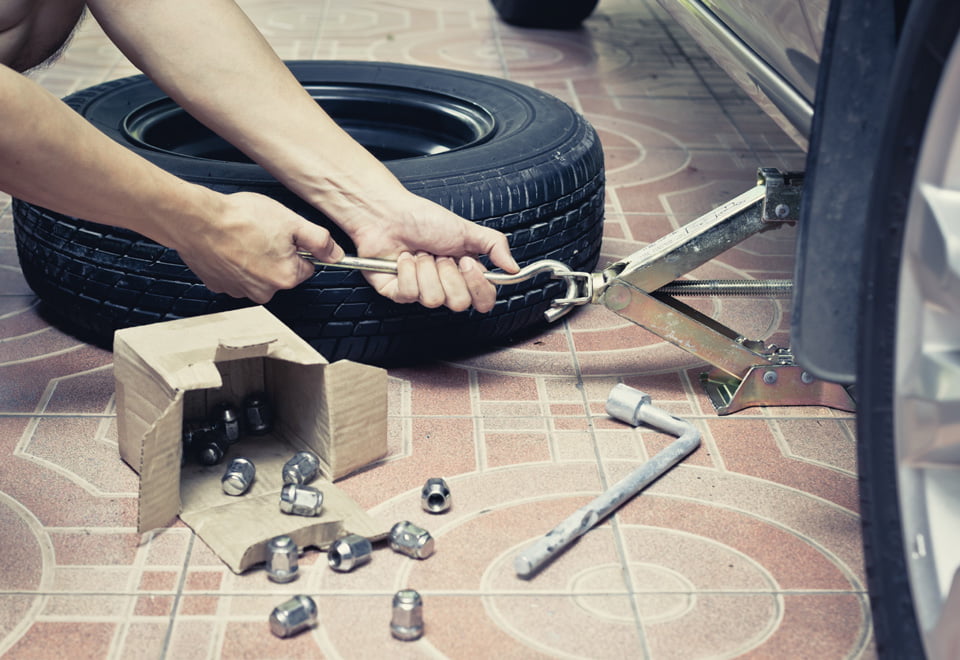
If you aren’t sure how to use your jack, refer to the owner’s manual for the proper procedure. Jack up the vehicle and install jack stands if you have them. Then remove the existing wheel and tire.

Examine First
Clean the lug studs or wheel bolts and examine them. Make sure they are free of grease and dirt. If you find any burs on the thread hitch a ride to the local auto parts store for a thread repair kit. Check the fit of the new lug nuts or bolts by installing them without the wheel. If you encounter resistance, check to make sure the threads are clean and try another one. If you still have a problem STOP the threads might need to be repaired on the stud. Once you are sure your hardware is good, it’s time to check the fit.
Fit Flat
Check your fit. Wheels must fit completely flat against the hub. If there is any rust or debris on the mounting surface of the brakes and drums (and there probably will be), wipe it away. Remove any stud clips or indicator pins. These were only necessary the factory when the vehicle was still on the line. If this isn’t the first install of aftermarket wheels, they are probably already gone. Install the centering ring if necessary to get the right fit on the hub.
Check The Fit Of The Wheel Again
- Does the bolt circle of the wheel match?
- Does the wheel fit flat against the hub?
- Is the bolt pattern correct?
If you have any problems, call us at (562-862-8001). There is safe way to test fit whees on your vehicle with no tires.
Check Brake Clearance – Hand snug the lug nuts or bolts until they are finger tight. Do NOT use a wrench. Put the vehicle in “neutral” and give the wheel a spin by hand. You need to make sure that the brake caliper doesn’t touch the rim, the backside of the wheel, or wheel balancing weights. If it all looks good, then you are ready to check the next wheel.
Repeat this process for all wheels. After the left rear wheel, proceed to the right rear wheel and then move to the front and repeat.
Install Custom Wheels
After you have verified the fit, remove the wheel and apply a very thin coating of antiseize (like Permatex) or high-quality grease to the hub. This will make removal of the wheel next time you rotate your tires much easier. If you use antiseize, be careful not to get any on the lugs or bolts.
Now you are ready to install. Place the wheel back on the hub. Hand snug the lug nuts or bolts. Tighten using the proper torque wrench. Check your owner’s manual for the proper torque specifications. Tighter is not always better.
Tightening Pattern
Here are a few patterns recommended for different bolt configurations:
Four Bolt – Rotate so that one lug nut is at the 12:00 position. Tighten this nut, then move to the 6:00 position, then 3:00 and finally end at the 9:00 position.
Five Bolt – Rotate so that one lug nut is at the 12:00 position. Tighten this nut first, then tighten the lugs nut directly across. Then move to the position furthest from the previous nut. In other words, start at 12:00, then 7:00, then 2:00, then the 10:00 and finally to the 5:00 position.
Six Bolt – The same rule of thumb as used for the 5 bolt applies. Rotate first lug nut to the 12:00 position, then tighten in order: 6:00, 2:00, 7:00, 5:00; 10:00.
After 50 to 100 miles, check all lug nuts and bolts and re-torque if necessary.

Installing your new custom wheels and tires from PowerHouseWheels.com isn’t much more difficult from changing a tire. If any time during your install you have a question, give us a call at (562-862-8001). Our Customer Service Team has years of experience and are ready to answer your custom wheel installation questions or help solve your problems.